Environment Setup on Your Own Computer
These instructions and screenshots are based on a Windows platform, but the steps are essentially the same on Mac OS X and Linux.
Important: follow these instructions carefully, and do not skip any steps! Type all inputs exactly as provided, including spelling and capitalization.
-
If you have never taken either CSE 2221 or 2231 before, you must follow all the steps in this guide regardless of whether you have Eclipse installed already.
-
If you have taken either CSE 2221 or 2231 in a prior semester, you do not need to re-install Eclipse and the required plugins. However, you do need to follow the rest of this guide, in particular downloading the CSE 2221/2231-specific files, confirming you are using a fresh workspace, and configuring Eclipse preferences.
Download CSE 2221/2231-Specific Files
-
Download components.jar, and move it to an easily accessible location that you can remember (e.g.,
Documents). -
Download OsuCseWsTemplate.zip, and expand (uncompress, unzip) it. Move the one folder it contains,
workspace, to an easily accessible location that you can remember (e.g.,Documents). You will store all your Eclipse projects for this course in thisworkspacefolder.
Install Eclipse
-
Download the Eclipse Installer for your operating system (Windows, Mac, or Linux) and architecture (x86_64 or AArch64). To check your architecture on Windows, open Settings > System > About: A "System type" of "x64-based" means x86_64, while "ARM-based" means AArch64. On a Mac, click on the Apple menu > About This Mac: a chip or processor with "Intel" means x86_64, while "Apple Mx" chip means AArch64.
-
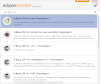
Run the installer, and make the following selections:
-
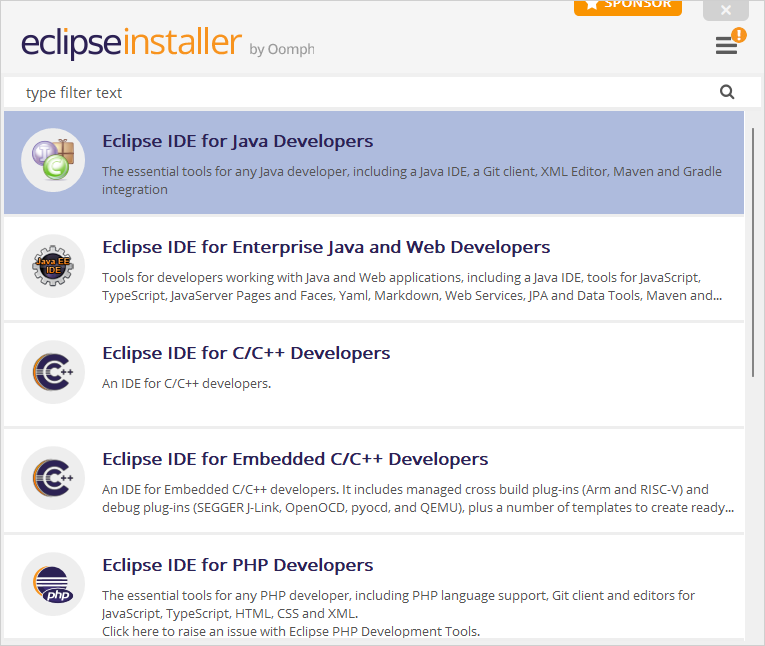
Install Eclipse IDE for Java Developers.
-
For Java 21+ VM, use JRE 21. Click Install, and accept the license agreement.

-
Once installation is complete, click Launch.


-
-
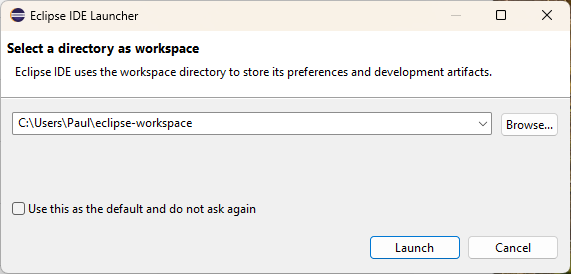
When prompted to Select a directory as workspace, you must change the entry to be the location of the
workspacefolder that you created fromOsuCseWsTemplate.zip. Use the Browse... button to navigate to the correct location (e.g.,Documents), select theworkspacefolder, and click Select Folder. The path will be something likeC:\Users\your-username\Documents\workspace. Optionally, you can select Use this as the default and do not ask again. Click Launch.
-
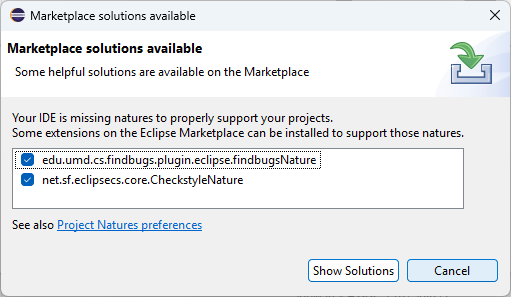
The first time Eclipse starts, you will see a warning that the "IDE is missing natures to propertly support projects". This is expected since we have not yet installed the required plugins. Click Cancel to dismiss this dialog.
-
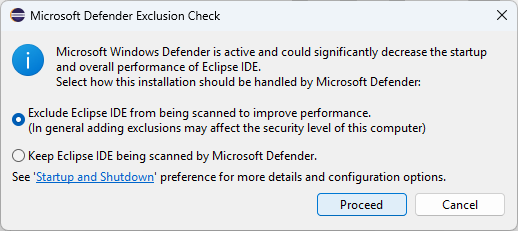
Depending on your security and anti-virus settings, you may see a warning about running Eclipse. If so, allow Eclipse to run.
Confirm the Workspace
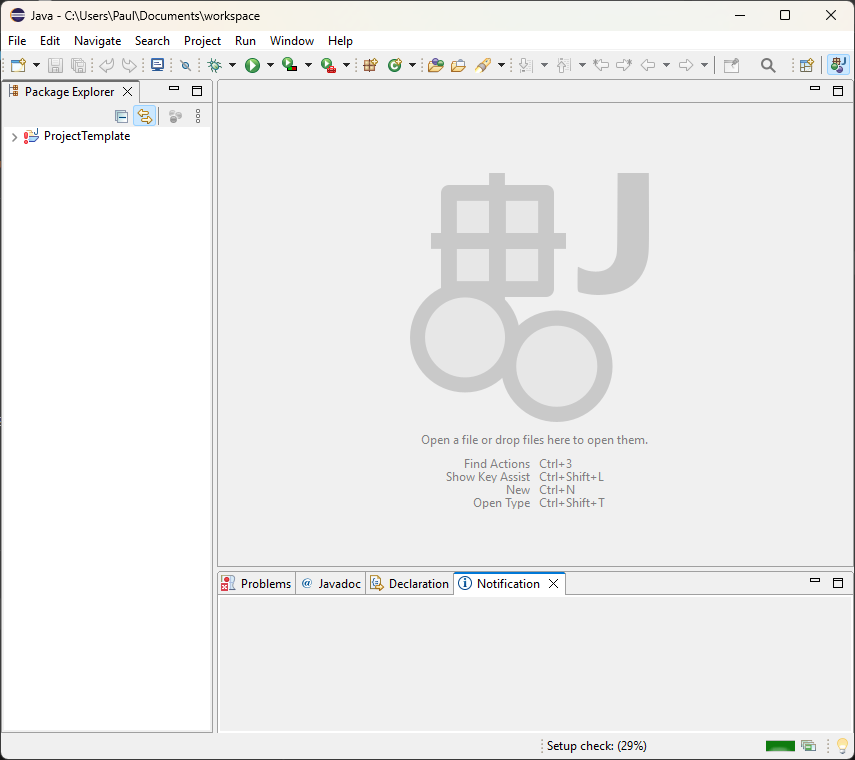
When Eclipse starts, confirm that you have opened the correct workspace.
There should be a single project, named ProjectTemplate,
in the Package Explorer tab on the left of the window.
This project has a red exclamation mark icon indicating that there are some
issues to be resolved, which is normal at this point since
the setup is not complete.
If the workspace does not contain the ProjectTemplate project, switch to the correct one using
File > Switch Workspace > Other... then navigate to the
correct workspace folder on your disk.
Do not proceed until you are sure you have opened the correct workspace.
Install Required Plugins
The functionality of the Eclipse IDE can be expanded by adding extensions known as plugins. Our development environment uses four such extensions: Checkstyle, SpotBugs, Subclipse, and Eclipse Web Developer Tools. Start Eclipse and make sure you are in the correct workspace.
-
Install Checkstyle.
-
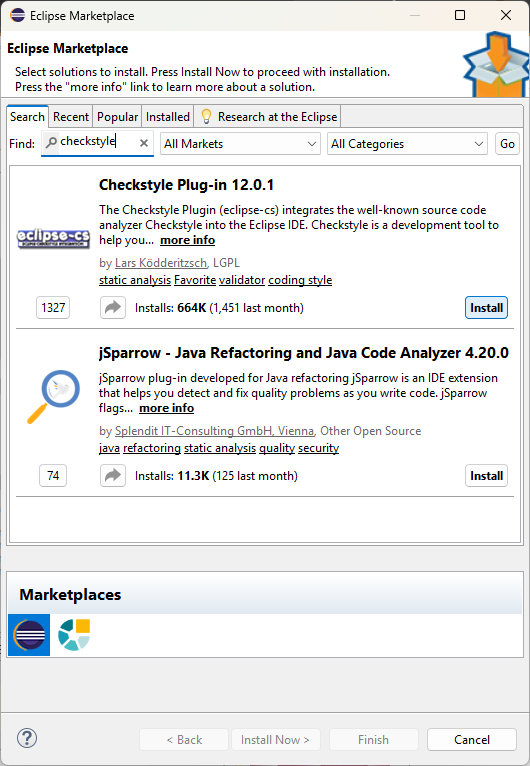
Use Help > Eclipse Marketplace... to open the marketplace.
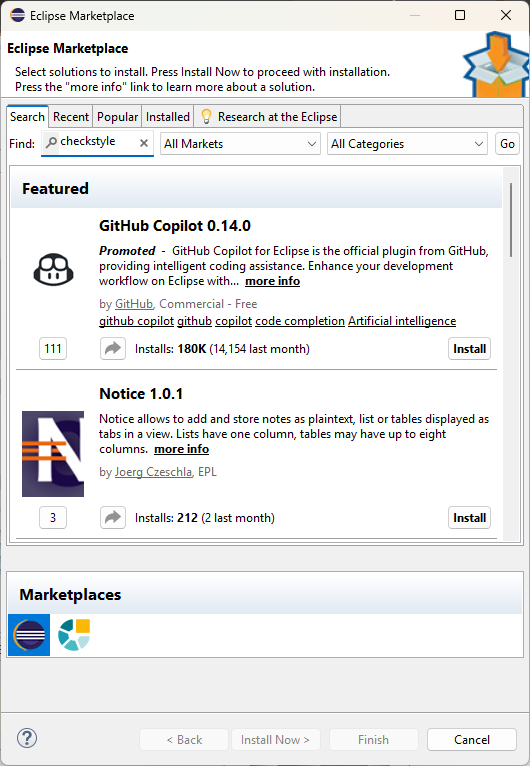
-
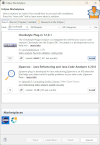
In the Search tab, type "checkstyle" in the Find box and hit Enter. In the search results, find the Checkstyle Plugin (eclipse-cs) and click Install.
-
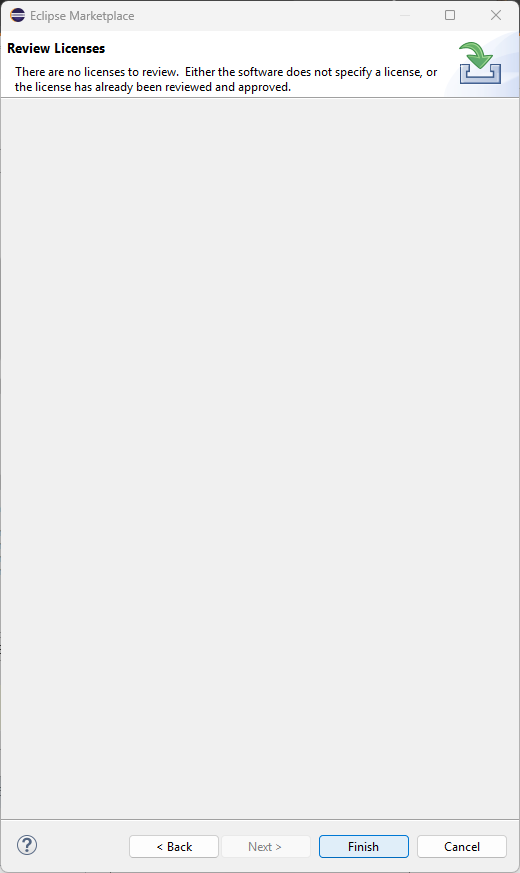
Accept the license agreement (if any) and click Finish.
-
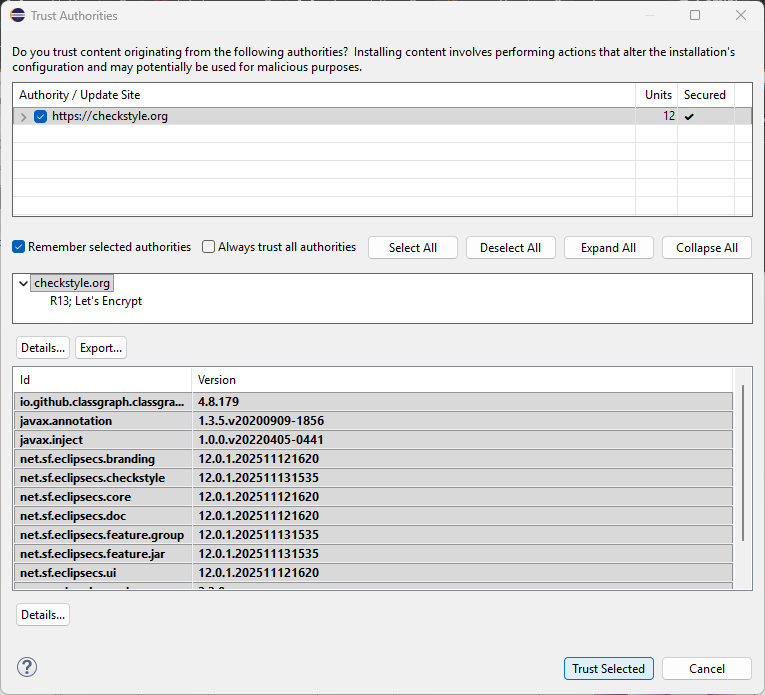
If you are asked to trust authorities, click Select All, then Trust Selected.
-
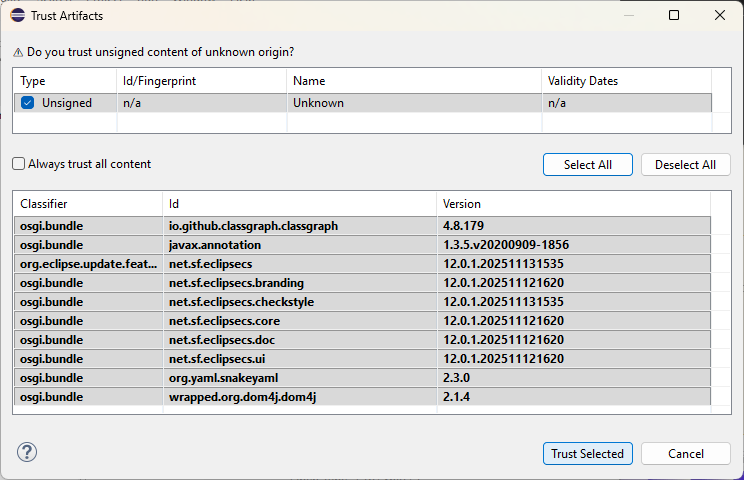
If you are asked to trust artifacts, click Select All, then Trust Selected.
-
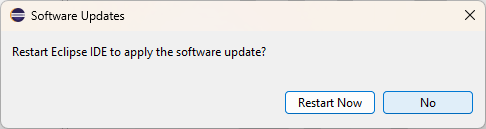
Once the installation of the Checkstyle plugin is complete, Eclipse offers to restart. Since you need to install a few more plugins, click No.
-
-
Install SpotBugs.
-
Use Help > Eclipse Marketplace..., and search for "spotbugs". Find the SpotBugs Eclipse Plugin and click Install.

-
Again accept the license agreement (if any) and click Finish. Trust all authorities and artifacts as before.
-
Click No when Eclipse offers to restart.
-
-
Install Subclipse.
-
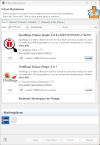
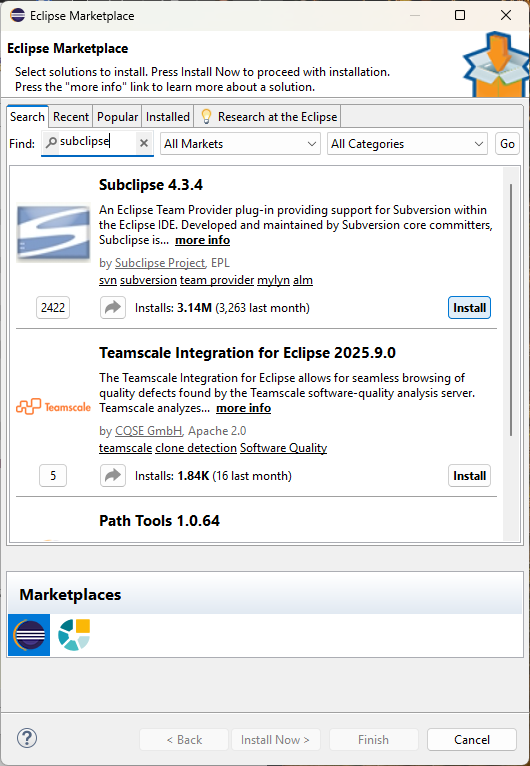
Use Help > Eclipse Marketplace..., and search for "subclipse". Find the Subclipse plugin and click Install.
-
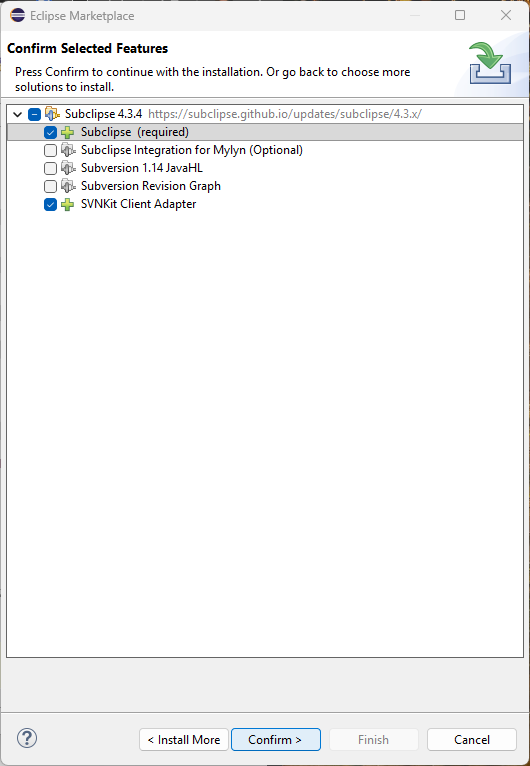
Select only the following features: Subclipse (required) and SVNKit Client Adapter. The dialog should look like the screenshot below. Then click Confirm.
-
Again accept the license agreement (if any) and click Finish. Trust all authorities and artifacts as before.
-
Click No when Eclipse offers to restart.
-
-
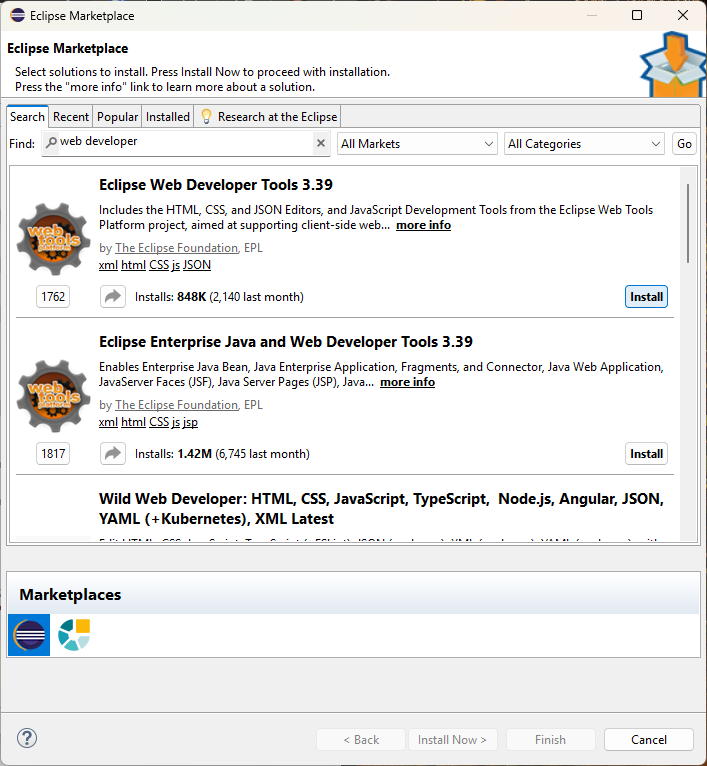
Install Eclipse Web Developer Tools.
-
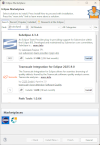
Use Help > Eclipse Marketplace..., and search for "web developer". Find the Eclipse Web Developer Tools plugin (not the one labelled Enterprise Edition) and click Install.
-
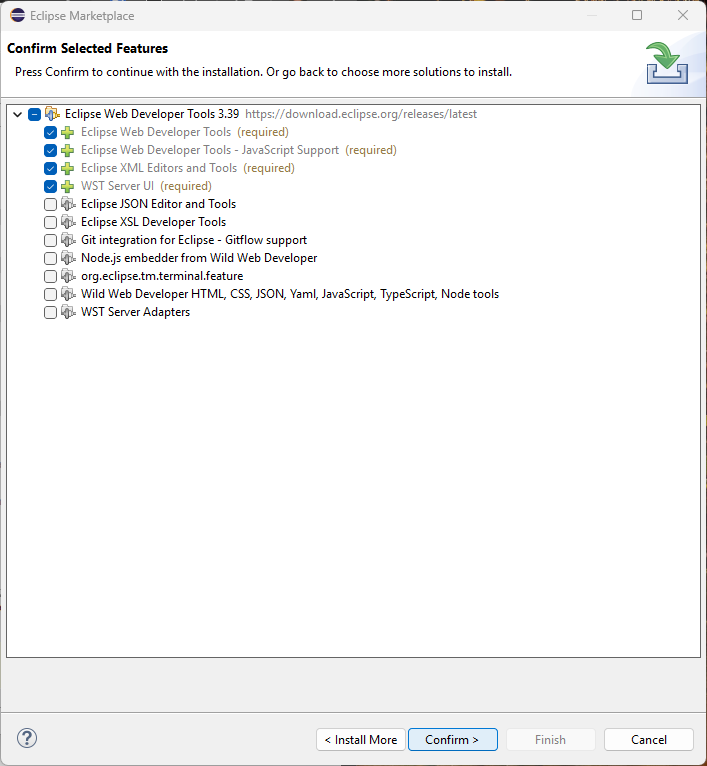
Select only the required features, which are the first four entries in the list. The dialog should look like the screenshot below. Then click Confirm.
-
Again accept the license agreement (if any) and click Finish. This time there are no dialogs needed to trust authority or trust artifacts.
-
Accept the offer to restart Eclipse by clicking Restart Now.

-
Configure Preferences
Start Eclipse and make sure you are in the correct workspace. Open Eclipse preferences by selecting Window > Preferences. (On Mac OS X, use Eclipse > Settings...).
-
Configure the JRE.
-
Expand and select Java > Installed JREs. In the list of installed JREs, click on jre (default) (the one with the checkmark), and then Edit.... Note: the Edit button is greyed out until you click on one of the entries in the list.
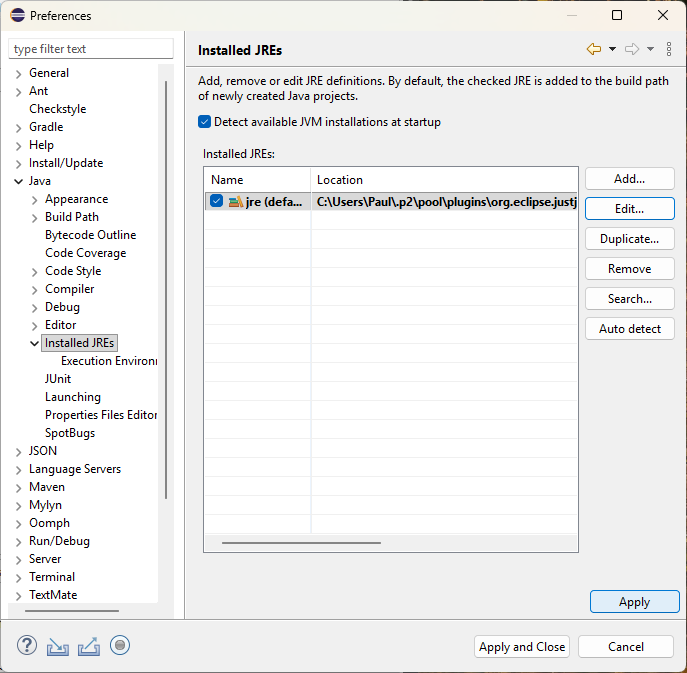
-
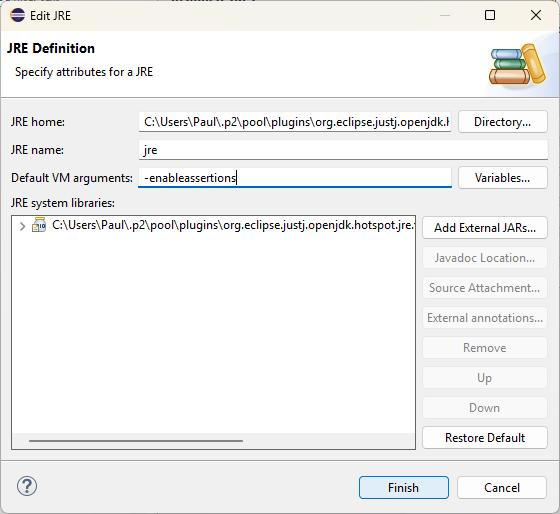
For Default VM Arguments, enter
-enableassertions(or simply-ea). Click Finish.
-
Click Apply (not Apply and Close).
-
-
Add the component library to the build path.
-
Expand and select Java > Build Path > Classpath Variables. Select the
OSU_CSE_LIBRARYentry and click on Edit...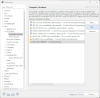
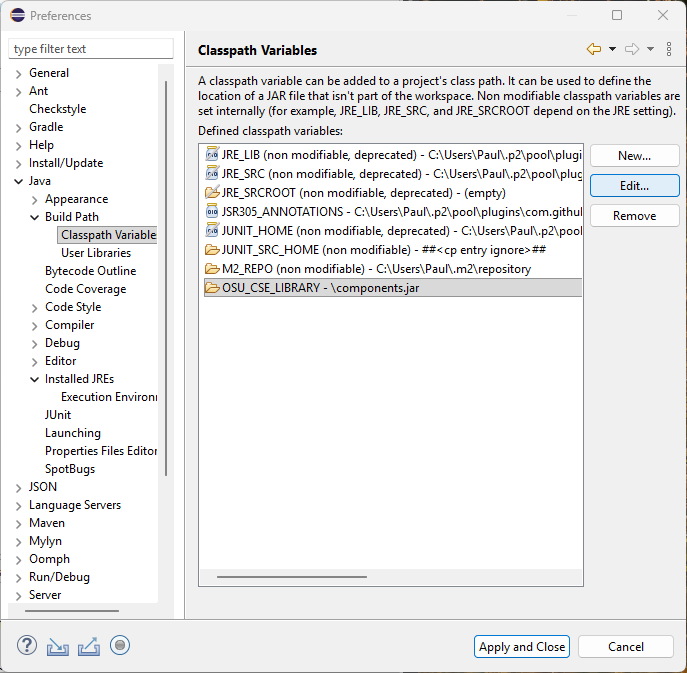
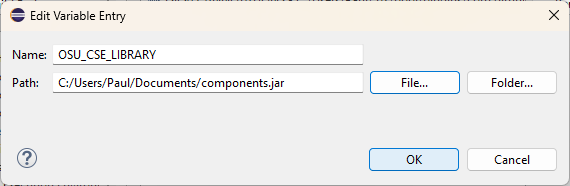
-
Set the Path to the location of the
components.jarfile, either by typing it in or by clicking on File... and navigating to the appropriate location. Click OK.
-
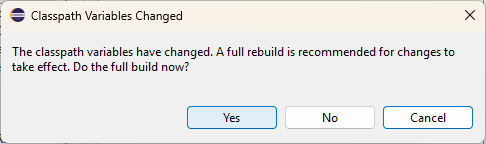
Click Apply and Close and when asked whether you want to do a full build now, click Yes.
-
If you followed all the steps above correctly, there should be no errors or warnings in the given
ProjectTemplate.